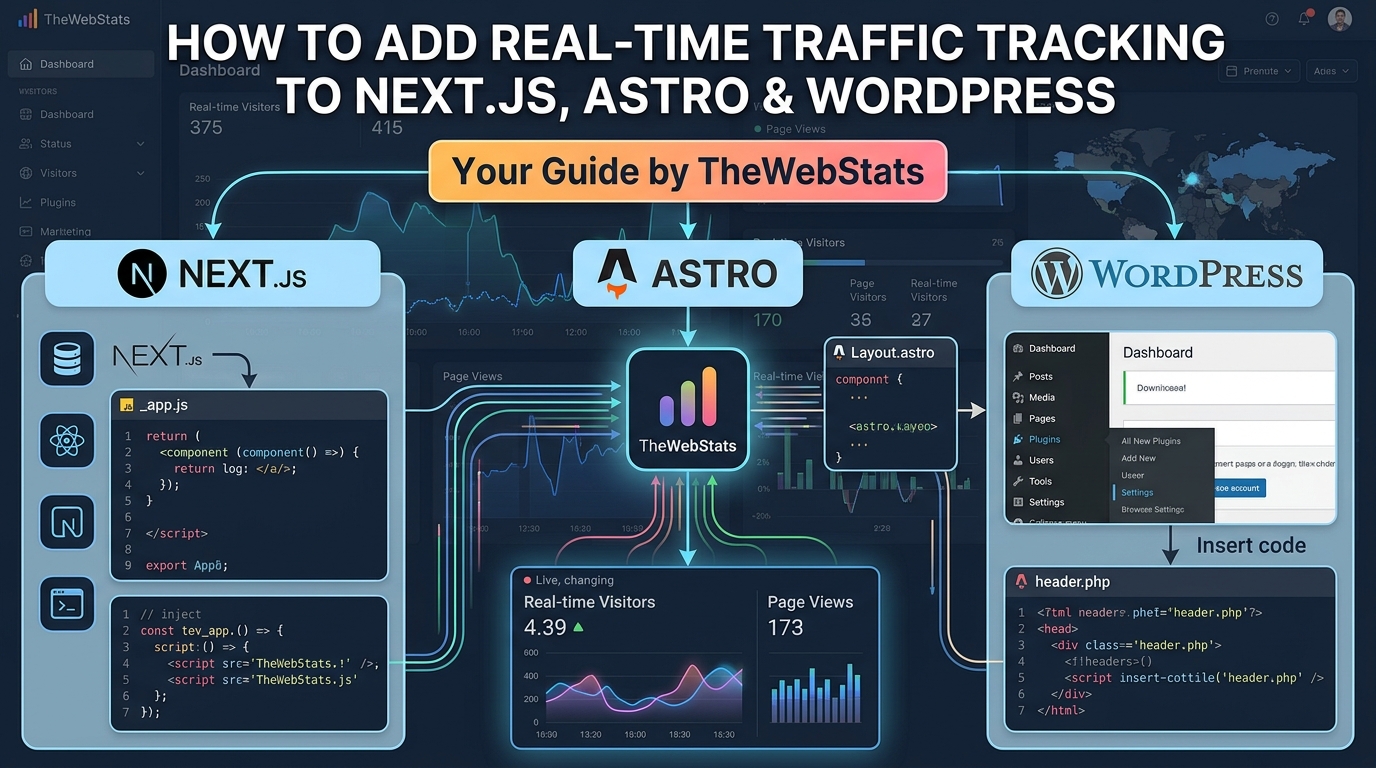
How to Add Real-Time Traffic Tracking to Next.js, Astro & WordPress Adding web analytics shouldn't mean bloating your codebase with heavy tag managers or slowing down your page performance. If you are using modern frontend frameworks like Next.js or Astro, or running a content site on WordPress, installing a lightweight tracking script takes less than two minutes.
Below is the step-by-step guide to embedding TheWebstats across these three platforms.
## The Universal Tracking Snippet Before jumping into framework-specific setups, here is your unique tracking tag. You will replace `YOUR_SITE_ID` with your actual site identifier from your TheWebstats dashboard:
You simply paste a single lightweight script into your <head> tag:
<script
  src="https://www.thewebstats.com/js/wsx.js"
  data-site="YOUR_API_KEY"
  async>
</script>
How to Add Tracking to Next.js
Next.js handles page routing via client-side transitions (SPA behavior), so standard scripts placed in a layout might miss route changes if not configured properly.
Step-by-Step Implementation:
-
Open your root layout file (typically
app/layout.tsxorpages/_app.tsx). -
Import Next.js's native
Scriptcomponent fromnext/script. -
Inject the tracking tag into the root
<head>or bottom of your<body>usingstrategy="afterInteractive"to ensure zero impact on initial page load speed.
// app/layout.tsx (App Router)
import Script from 'next/script';
import './globals.css';

export default function RootLayout({
  children,
}: {
  children: React.ReactNode;
}) {
  return (
    <html lang="en">
      <body>
        {children}
        {/* TheWebstats Tracking Script */}
        <Script data-site="YOUR_SITE_ID" src="[https://thewebstats.com/js/script.js](https://thewebstats.com/js/script.js)" strategy="afterInteractive"/>
      </body>
    </html>
  );
}
How to Add Tracking to Astro
Astro delivers lightning-fast static and server-side rendered pages by stripping out unnecessary client JavaScript by default. Keeping your analytics script lightweight ensures you maintain a perfect 100 Lighthouse score.
Step-by-Step Implementation:
-
Open your global layout template component (usually located in
src/layouts/Layout.astro). -
Insert the script tag directly inside the HTML
<head>section. -
Use the
is:inlinedirective if you want the script loaded synchronously without Astro bundling interference, or keep it standard for asynchronous loading.
---
// src/layouts/Layout.astro
interface Props {
  title: string;
}

const { title } = Astro.props;
---

<!doctype html>
<html lang="en">
  <head>
    <meta charset="UTF-8" />
    <meta name="viewport" content="width=device-width, initial-scale=1.0" />
    <title>{title}</title>

    {/* TheWebstats Tracking Script */}
    <script defer src="[https://thewebstats.com/js/script.js](https://thewebstats.com/js/script.js)" data-site="YOUR_SITE_ID"></script>
  </head>
  <body>
    <slot />
  </body>
</html>
How to Add Tracking to WordPress
WordPress sites often rely on heavy plugins that inject tracking code, which can slow down database queries and server response times. You can bypass plugins entirely by inserting the script directly into your active theme.
Step-by-Step Implementation:
-
Log into your WordPress Admin Dashboard.
-
Navigate to Appearance > Theme File Editor (or use your preferred code snippet manager plugin).
-
Open the
header.phpfile of your active child theme. -
Paste the script right before the closing
</head>tag:
<!-- Inside header.php -->
<head>
    <meta charset="<?php bloginfo( 'charset' ); ?>">
    <meta name="viewport" content="width=device-width, initial-scale=1">
    <?php wp_head(); ?>

    <!-- TheWebstats Tracking Script -->
    <script defer src="[https://thewebstats.com/js/script.js](https://thewebstats.com/js/script.js)" data-site="YOUR_SITE_ID"></script>
</head>
Tip: Alternatively, you can use popular header/footer injection plugins to paste the code without editing theme files directly.
Quick Platform Integration Summary
| Platform | Recommended Injection Point | Performance Impact | Setup Method |
| Next.js | app/layout.tsx |
Negligible (afterInteractive) |
Native next/script component |
| Astro | src/layouts/Layout.astro |
Zero (Static asset load) | Direct HTML <head> embed |
| WordPress | header.php or Snippet Plugin |
Minimal (< 2KB script) | Theme header modification |
Verify Your Installation
Once you have added the tracking script to your platform of choice:
-
Deploy or save your changes.
-
Open your website in an incognito window.
-
Check your TheWebstats real-time dashboard—your live visit should appear instantly without requiring complex event debugging or cookie consent popups.